Wednesday 23 December 2015

Suddenly I did something

After weeks of inaction caused by all sorts of reasons I finally found that I had some time yesterday to start work in earnest on the scenery of the new bit. The exhibition in February seems very close all of a sudden.

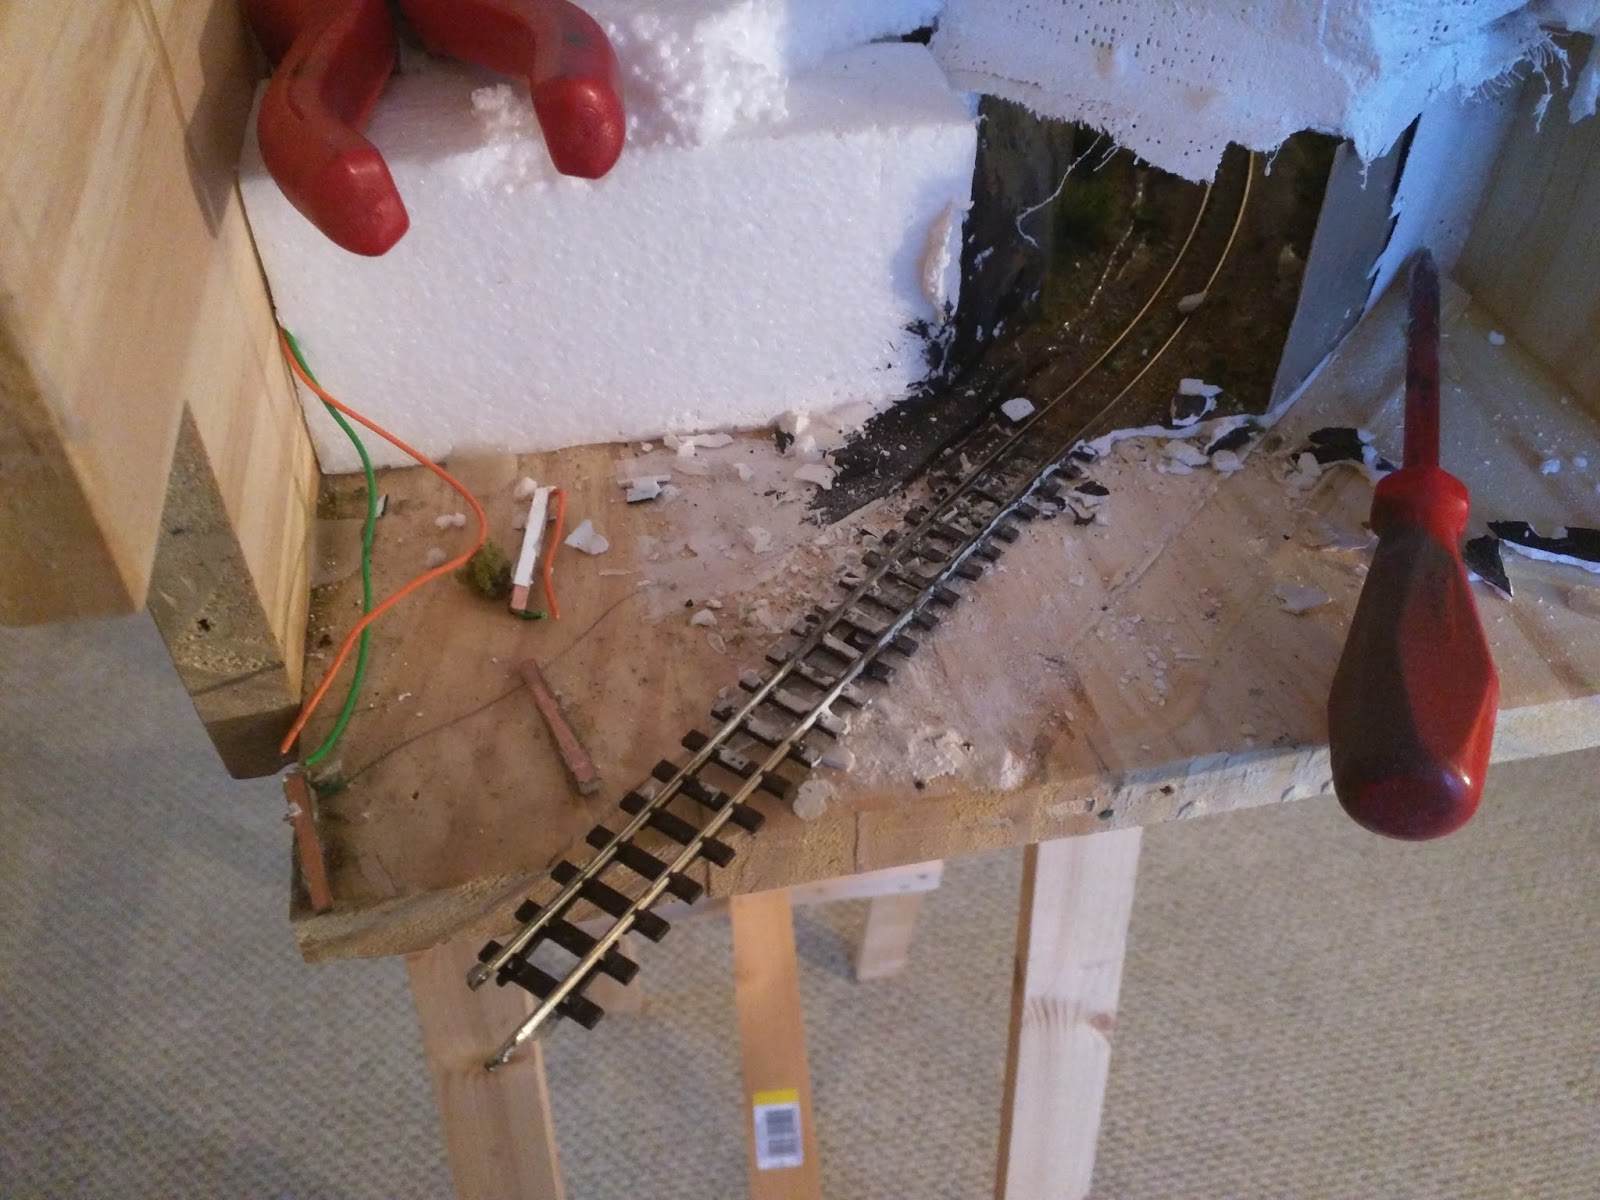
The start of the cutting
 

The basic scenery will be made in my usual way, i.e. making a basic former with expanded polystyrene block then covering with plaster bandage and finally adding filler to taste.


I use PVA to glue everything together and a mixture of a Stanley knife and my bare hands to get the basic shape. The way I think about it is that the polystyrene is like rock and the plaster is the soil which accumulates on the rock.


I've done most of the 'rock' work now except the other side of the rocky cutting as I need to get another sheet of plastic rock, the grey stuff you can see in the pictures.
 
The far side of the railway slopes down the beach with the back scene being the sea, I need to get a decent set of pictures and get them stitched and printed but hopefully it will look nice and give the layout some depth which is only about a foot deep in reality.


Where the new meets the old at the cheese factory end I've ended up fitting a few more building in than I originally planned. There is my scratch built wiggly tin building and three modified Scaledale ones. Hopefully they make a reasonable join between the town and the countryside. The only structure left to construct is a footbridge over the line for access to the fisherman's cottage and shed. I'm going to base it on the famous Padarn Railway bridge at Bethel which I drive past most days and have yet to stop and get a picture of.

Picture from Penmorfa website

Friday 4 December 2015

Warley, Weed and that coach

It has been a busy couple of weeks, not least because I spent the weekend in the NEC at the Warley show. This is a mixed blessing, it's a busy weekend where I get to meet lots of people and see lots of models. I also get to eat some excellent curry in the evenings and try not to spend too much cash during the day. We had hoped that the new PECO FR liveried coach would arrive in time to take with us but sadly they turned up on the Tuesday after.

They are rather splendid

One Warley purchase was the second Technomodels coach to complete my train.


The FR coach with an IoSR one

Another excellent find was another pack of Busch bush which will enhance some cheese very soon.


My only real modelling this last week has been Stonerizing a Minitrains Boehler loco. Mostly this has involved changing the chimney and rebuilding the rear of the cab. More on this project to follow but I am pleased with progress so far.


Tuesday 17 November 2015

Tram and van

Having ground to a halt with the wiring of the signal on 'the new bit' I felt rather disheartened and so haven't done much else for a while. However with the advent of genuinely unwatchable tele like that jungle crap and the X factory I needed something to stop my brain rotting even further.

Lights in action at the new halt...

...and at The Burning Bush pub and cottage over the line

The solution was firstly to get out the little steam tram that I made a while ago and see if it now fitted the new layout arrangements. The good news was that it nearly did and all that was stopping it was the driver and conductor who were hanging rather precariously on the outside of the tram. A simple move of them inboards and it happily trundled from end to end. I gave it the once over and decided that the printed signs on the sides didn't look very good to start with and had faded somewhat too so I replaced them with a pair of etched brass ones I had Narrow Planet make for something else which never happened. They look much better and really set off the rest of the vehicle.

Before

After


I've been sorting through my huge pile of part finished/un-started/ruined projects recently and came across a pair of Mr Rushby's delightful Darjeeling tea vans which are known as herb vans on the IoSR. He donated these two bodies some while ago as the last of the resin kits which needed some work to make them viable, however on close inspection they seem to be fine so last evening I set about getting them into traffic.


They are designed to suit a PECO n gauge van chassis but looking at them it seemed that the 009 flat wagons would be bodgeable to go under them and so with a bit of fiddling and filing that was what I did. The newly finished one has also gained vac pipes and the older one and the unfinished one will also. They will make a nice little train with the new PECO bogied brake van.


Sunday 8 November 2015

More solder and head scratching

A day off today so back to the soldering iron. The coiled cable arrived for the controller so I swapped that over and now I can reach both ends of the layout.


On the success front I also reattached the original lighting gantry. It used to be on an end which is no longer so I removed the wooden socket which the upright sits in and have now put it on the back of Underhill so I now have some lights at this end at least. I need to make a similar structure which attaches to the Three Bridges end.

While I was in a woodworking mood I also cut out some of the backscene board at Underhill so that I will have access to the track join this time around should it prove a problem.

On the unsuccessful front I still haven't persuaded the Dapol signal to work properly. I tried dropping the volts; I've tried DC; I've tried with and without the conrtol module and with. I've even tried another signal altogether. Ho hum.

Back on the successful front again, I've added a DC supply from a separate wall wart psu to illuminate the building and the lamp post at the station. This does work.


The pub has 2 x LEDs inside and a lamp on the outside. The halt has a lamp post and I may add an LED inside the waiting area. The building currently represented by the Skaledale fisherman's cottages might also get an internal light.


Thursday 5 November 2015

More solder

As predicted I spent my last day off soldering wires and generally buggering about with electricity, mostly pretty successfully.

The rear of the control panel

The front of the control panel with inter board connectors in place 

The first thing I did was make a small wooden frame to secure the styrene panel to, I attached it with the connections on the outside so I could more easily solder the wires in place. I knew what needed to go where except for the pin connections on the 6 pin DIN plugs, I looked at the way I'd wired the first socket in the Underhill wiring bunker... however it turns out that spatial awareness is not my big thing so the first way I soldered it all together I ended up with 16v AC on the track and the controlled supply going to the signal. Doh! Anyway after changing that all round all was well so I made the cut in the rails with great trepidation. I needn't have worried trains run over both joins with no trouble at all. I haven't taken the boards apart and put them back together again yet but one thing at a time.

The signal lit up and a train about to pass

.I have ended up with a slight issue in that the Dapol signal which is supposed to run off 16v AC seems to not like the supply coming from the Gaugemaster M1 which provides the supply to the layout. On checking I find that there is nearly 19 volts being supplied and I think that this may be too much so I need to reduce the voltage by a few volts. Back to work tomorrow though so it will have to wait; pleasing progress overall though. Underhill is reborn, nearly.

Wednesday 4 November 2015

Wires and switches

Had a spot of luck today while I was getting the wiring in place to connect the signal and the track power I found that I already had the 6 pin DIN plugs and sockets and the remains of the multi way cable that I used to make the original between board connections. This means that I could start work on the wiring for this section. You would think that it would be simple but I keep finding ways to make it more complex.

Under the hill at Underhill

There are two 6 way sockets to take the power from the Underhill module which has the power connection etc in it and send it on to the Three Bridges end. Then I'm going to have a switch to isolate the whole section so a train can wait at the halt and shunting can take place at either end. There is a Dapol signal which I have bought a IR detector to set it to clear as the train approaches it, the module has a facility to have status LEDs on the control panel. It then occurred to me that a train travelling from behind the signal would also trigger the signal just after the train had passed it so I've installed an 'inhibit' switch to stop the module changing the signal... oh and I've put a manual change button for the signal too. The final switch on the panel will switch off the lamp post and any lights I put in the buildings.

The control panel not wired in yet

Anyway I've run the cables and made the control panel, tomorrow hopefully I should get time to make up the connector cable and get the panel installed and connected to the track. This will mean that I can make the cuts in the rails between the modules... gulp... fingers crossed.

The upshot of finding the bits I found and having all the switches and LEDs squirreled awry; in case they come in handy; is that the only bit I needed to order was a long stretchy cable for the hand held controller. It was fine when the layout was only 4 feet long but it is now 13 feet long so I can't get to the Three Bridges end at all.

Tuesday 3 November 2015

MDF and solder

Got the track down today and added the copper clad sleepers either side of the baseboard joins. I've soldered them to the rails but not made the cuts in the rails as I've been doing some  'testing'. The next bit to do is the wiring but I have to order some plugs and sockets etc before I can do that.


One good side effect of the new work is that with a couple of little additional changes I can now use the PECO L&B coaches on this line. One makes a whole train but that is ok.

Monday 2 November 2015

MDF and PVA

The title says it all really. I spent the day cutting and sanding MDF and then gluing it onto the baseboard. I've also cut and glued the MDF front profile on so the scenery is starting to come together and the trackbed is in place. A night of PVA setting and it will all be ready for the track laying.

The only unfinished woodwork is the backscene

The fascia

The station shelter is pretty much finished

The only bit I'm not sure about is how to transition from the new bit to the Underhill bit. Probably a cutting and some trees will do the job.

Saturday 31 October 2015

Demolition and construction


Work has continued on the extension of Underhill.

Cheese factory removed and the track cut back

 PECO setratck curve making the change of direction.

Both ends of the original layout are now cleaned up and prepared for track laying. The first woodwork for the track bed on the new section is glued down. The depth of track bed now need another piece of 6mm MDF and then a 2mm track bed as the final 'ballast'. Once that is done it will be time to complete the track laying.


 I've decided that to keep things interesting operationally there will be a halt towards the Underhill end which I've built this evening. It has a hint of the original Dduallt station building but is in no way a model of it.


 I've made a bit of a boo boo in that I've sealed the room with a door so I can't glaze it but I'll find a way round that later, it's in the garage having been given a waft of primer.


Sunday 25 October 2015

Wood work...

Last episode I was ripping things apart and contemplating a new era. Well, that new era has begun.

After a visit to B&Q for the timber I set about rendering it into either kindling or the next bit of layout.


The plan is to have the shelf board hang lower that the two end boards so that I can have scenery below track level for a more realistic look. After much head scratching the plan (at the moment but subject to total change) is that the new bit will be a section of line running along the coast, the beach will slope down to the back from the track bed. I want to show the islandy look of the scenery.

I had contemplated putting a passing loop on here for more trains per square inch but it would take up too much room and I just want to have some countryside to let the train wander along in. There will be a halt with a single lamp post and maybe a little ramshackle shelter. On the viewing side of the line will just be fields with some cows in. Simples.

Sunday 18 October 2015

All change

Modelling has taken a bit of a back seat for a while but this doesn't mean that the little grey cells haven't been hard at work. As I mentioned before, Underhill works well except for the giant and wonky leap between boards. I could see two solutions - 1 Chuck the whole thing away and start again. - 2 Re build the join. For a while 1 was in the lead. I decided to set the layout up and have a play, take some pictures and write and article for the 009 News. In the process of doing this I had a good look at the layout and decided that I would miss some of the good bits. Time passed and several trips back and forth to work and insomnia hours in bed were spent thinking about a new plan. I came up with a nice roundy roundy with a branch line plan which would fulfill all my desires for a new exhbitable layout.


This is the cause of all the trouble, where the boards join is a mess. There is no solid connection and so the track doesn't always line up. By the end of Great and Small II I had got it perfect but I'd spent a day and a half swearing and trying to fish trains out of the impossible to get at bit I had stupidly created.

Apart from the brand new layout I wondered about a new connection but couldn't see how it could be done with the current geometry and then it clicked. New geometry. So for now Underhill lives. Plan A is to insert a new board between the current ones, this will turn an L shaped layout into a straight one about twelve feet long.

Spot the missing link

I grabbed a couple of hours today and taking my courage and the electric screwdriver in my hands I removed the end panel to see what would be possible. 

What I found when I removed the end.

To do what I want to do I needed to be able to straighten the track out so that it joined the new board in an end to end junction rather than half way round the corner as in the MK1 version. With very little poking about the polystyrene came out leaving the mod rock shell unsupported but perfectly sound. The bit of timber was PVA'd onto the baseboard so took a knock with a hammer to loosen it but out it came. 

Next phase was to remove as much of the plaster 'ballast' as possible, this actually came away easier than I thought it would. Although the track has been damaged in the process of demolition there is enough left sound to cut and connect a new bit to make a decent new board join.

This shows the general idea.

Next I turned the screwdriver and crowbar on the matching end of the Three Bridges board. In principal this bit should be simpler to change, it will need a piece of wood inserting in the gap where the other board connected.

This shows the cheese factory with the baseboard gap behind it.

A previously un-viewable angle now revealed by the removal of the end.

Next job is to work out how to make a reliable, repeatable join between the old boards and the new middle bit. I have a plan but this time I will give it plenty of thought before plunging into woodwork world. I'm quite enthused with the new look layout.

I'm also having thoughts about extending the far end of the Underhill board and completing a run round loop... one thing at a time though.


Wednesday 30 September 2015

A bit of an experiment

I've got a new phone and so I'm seeing if I can post directly from it.


I haven't taken any modelling pictures but here is one of the video camera set up to get a shot in sunny Caernarfon.